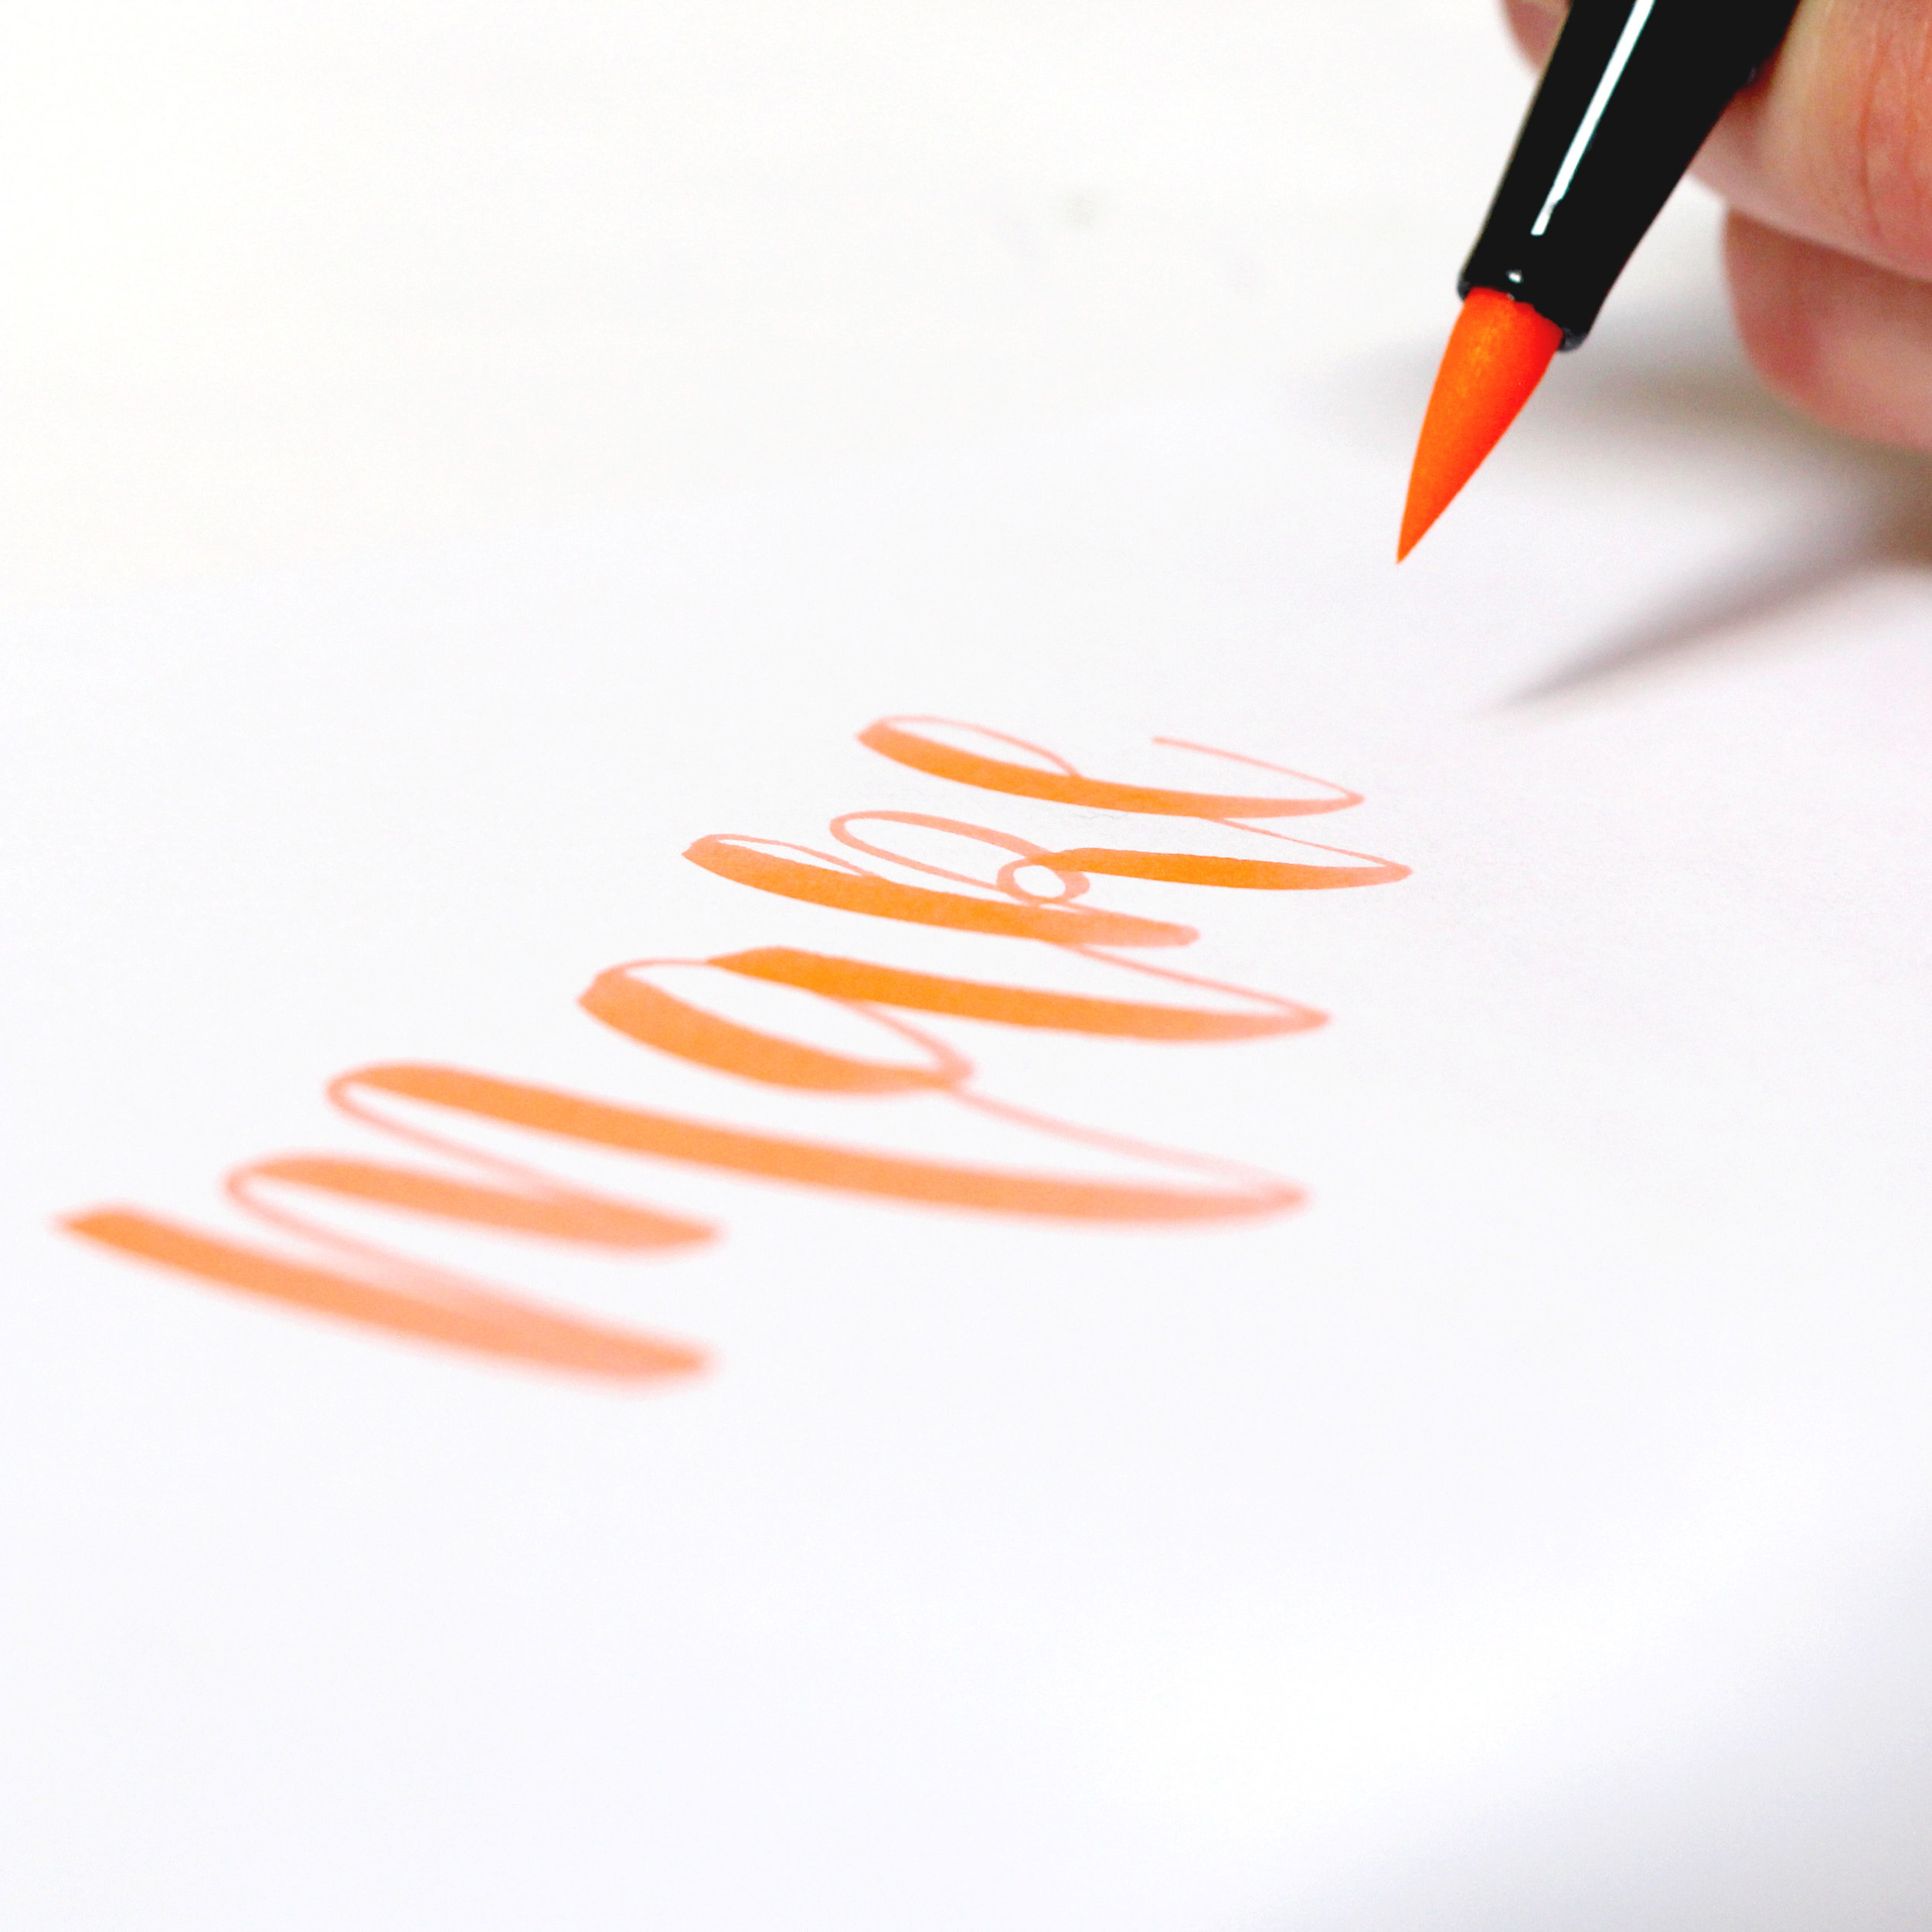
How To Use Tombow Dual Brush Pens - Tips and Tricks
If there was one pen I would have to pick from all the brush lettering supplies - the winner would definitely be the Tombow Dual Brush Pen! Not only it’s considered to be the best beginners brush pen, it is also useful for an intermediate level hand letterers to help create amazing projects!
It was the first pen I bought when starting my lettering journey, and even though any pen seemed to feel intimidating at the time, I’m glad it was the one I started practicing with.
My style is quite simplistic and minimal looking, therefore I mainly buy my Tombow in black colour, but there are many beautiful palettes available (pastel is my favourite).
As it’s a DUAL brush pen, it has two tips - a brush tip and a fine tip, which I found useful correcting any flaws or embellishing lettering designs with simple drawings.
Here are a few tips and tricks I’ve learnt during my 4 year practice.
1. Make sure you give your pen a good ‘warm up’.
I often find that these pens are quite stiff when firstly opened, therefore the first thing I usually do is have a blank sheet of paper and practice very thick strokes for the pen to take its normal shape and work as a brush.
It can be quite discouraging if you’re starting out and it seems like the pen is not doing what you want it to do.
2. Change your pen regularly.
From my own experience, I find that these pens tend to fray after about a month of use. If you notice that your lettering has suddenly developed ‘fuzzy’ look, don’t blame it on yourself, it’s time to change the pen!
Frayed pens can still be used for the practice, it might be harder to control your strokes, but it would also be a good challenge as you’d really have to think about making your strokes thick or thin, which is much easier with a fresh pen.
Here are a few tips to make your pens last longer:
Hold your pen at an angle, not upright.
Make sure your paper is smooth, so it doesn’t catch whilst you’re lettering. (A squeaky sound is good, it means you’re applying enough pressure on your downstrokes, however, it should slide nice and smooth on the paper).
3. Really work on those thick strokes.
The good thing about this pen is that allows a good variation of thickness. You can create very thick strokes applying lots of pressure and watching the tip of the brush sliding sideways.
4. Mix it up!
If you have a set of different colours, I highly recommend using the blending palette. It allows you to blend the colours and create a watercolour wash effect on your lettering. You can either use the same pen to dip into the mix of colours, or get an uncoloured Tombow brush pen.
5. Create faux calligraphy with the fine tip!
Oh this is fun! When I started practicing lettering, I found out about the faux method and it allowed a bit of cheating to create that perfect brush lettering look.
If you use the fine tip to letter your phrase, then go over your downstrokes and add another line. You can then either colour them in or leave them blank - it looks great doesn’t it?
Some of the links in this blog post are affiliate links. This means I may earn a small commission if you make a purchase through these links, at no extra cost to you. Your support helps keep this blog running. Thank you!
Did you know that by signing up to my Blooming Calligraphers membership you'll get instant access to the exclusive worksheet library, engaging calligraphy and watercolour projects, and fresh monthly content? Become a member today, sign up here
Let’s connect!
Instagram: http://instagram.com/creativefeeldesigns
E-mail: hello@creativefeeldesigns.com
www.creativefeeldesigns.com


