Introduction To Cricut - Lettering design ideas
In this post I'll do a quick run down about Cricut. I recently put up a poll asking whether you'd enjoy any future tutorials on it, and a lot of you said that you'd like to learn more about it. So here is a little introduction post of my experience using it and some examples of how I tied it with my lettering to create projects. You can find plenty of posts about it, but this will be purely from a calligrapher's perspective.
What is Cricut?
'Cricut™ makes smart cutting machines that work with an easy-to-use app to help you design and personalise almost anything — custom cards, unique apparel, everyday items, and so much more.' (Cricut.com)
There are different types of Cricut machines:
Cricut Joy, Cricut Explore and Cricut Maker
(https://www.paigejoanna.co.uk/2021/01/differences-between-cricut-machines/)
The one I went for personally is the Cricut Maker. After doing a bit of research it seemed to be the one that's compatible with most of the projects. I like that it can cut so many different materials and has so many tool options. It comes with a Fine Point blade inserted already, and I found it to be OK for cutting paper and card up to 250gsm. But I recently got a knife blade which will be able to cut chipboard, thin acrylic and thick card, and I'm excited to try that out.
You can buy and easily fit different blades and other tools such as 'foiling kit (to allow you achieve foil effect text or details on your projects), pen tools (to be able to draw directly onto your project etc). It doesn't come with all the tools, but you can slowly build your own collection over the time.
I found the set up to be very straightforward and it has its own Design Space which is like a program you download and it allows you to work on your projects directly in there. It does take a bit of time to learn, but the basic things like cutting shapes etc., is pretty straightforward.
Here's a screenshot of what it looks like:
I like that it comes with a lot of templates and project ideas. Cricut Design Space is generally free, but if you want to use more images and get access to more resources it's about £7.49 ($9.99) a month.
Now that you've got a better idea of what it is, I thought I'd share some of the projects I've made in the past year. I can't say I've experimented enough with it, in terms of trying cutting lots of different materials etc., but I've adapted the way of implementing it into my lettering projects and I think it's quite fun.
1. Cake toppers
This is a fun one, I got some glittery card in about 250gsm in weight and cut this cake topper for my daughter's baby shower. Although I bought a pack of this card, it still worked out to be cheaper than buying the topper and I can use the card for many more projects.
This was done with a pre-made ready to go font already so it was very quick and easy to set up and cut.
2. Vinyl
So cutting Vinyl is probably one of the most useful things about this machine. You can apply Vinyl to anything - t-shirts, mugs, notebooks, acrylic, mirrors, paper, blackboards etc. It's so versatile! While I haven't worked with Vinyl on fabric just yet, as I'd need to get one of their special irons to set the vinyl, I can imagine how it'd be so much fun creating hand lettered apparel.
What I have tried applying Vinyl onto is mugs, card, blackboard, paper, jars. And it gets lovely results.
*I used gold vinyl to cut this text and apply to some Baby Shower favour tags. It's finicky to work with such a small size, so that was a good lesson learned :D
*These were fun to make. I bought some tumblers and hand lettered the phrase I wanted to attach to them. I cut white vinyl and transferred it directly onto a tumbler. Super useful for little gifts!
I often use Vinyl in a project where printing just isn't effective. For example, if I want white text on black or navy card. Or a shiny gold effect on a wedding sign etc.
3. Shapes
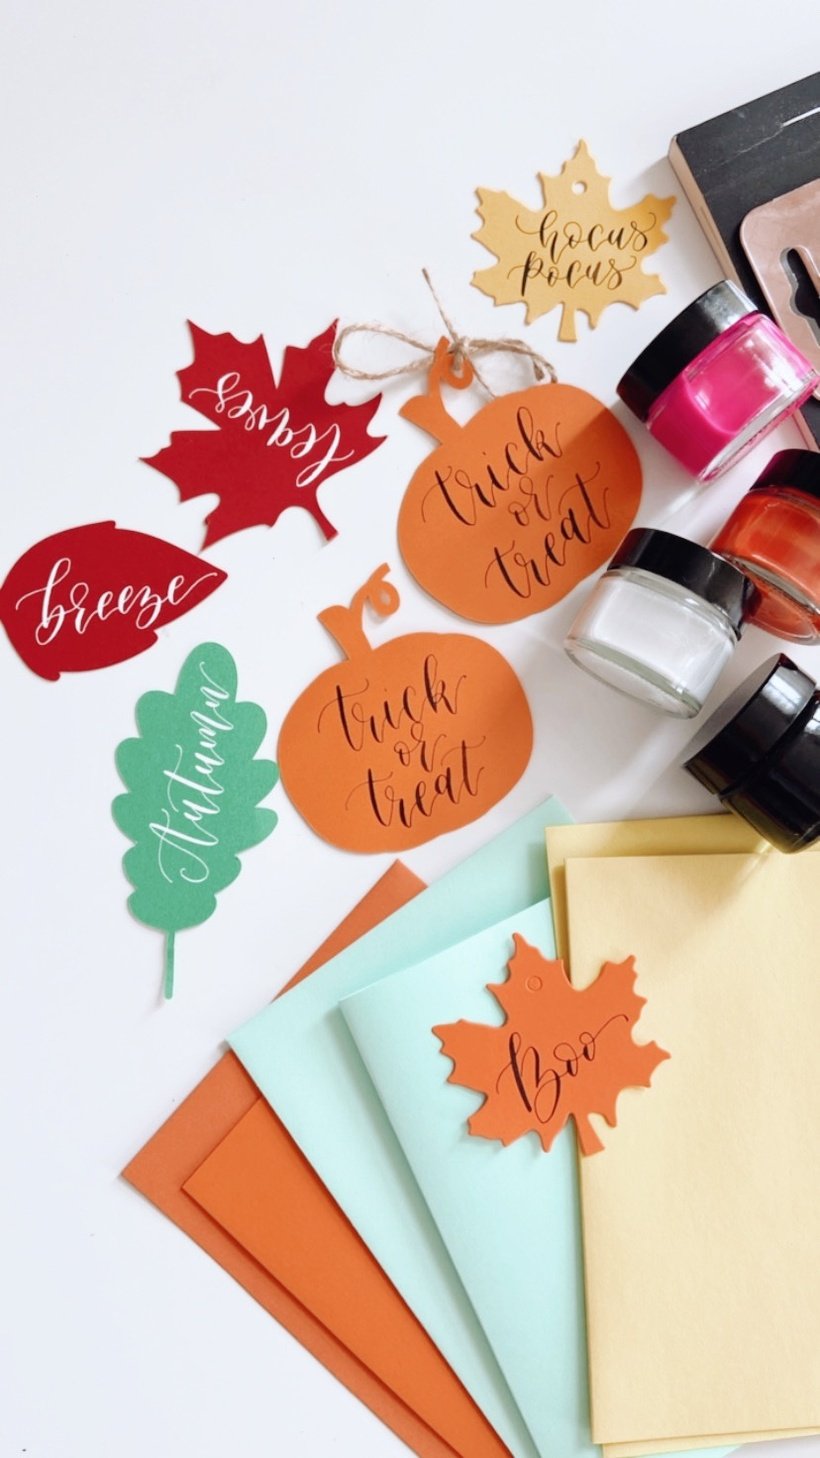
*Cutting certain shapes and using them as place cards. This is great for seasonal place cards, for example cutting leaves for Autumn, snowflakes for Christmas, Easter bunnies for Spring etc. You can cut different shapes and then letter with your pen to finish off the design. Something that would sell quite good on Etsy I reckon!
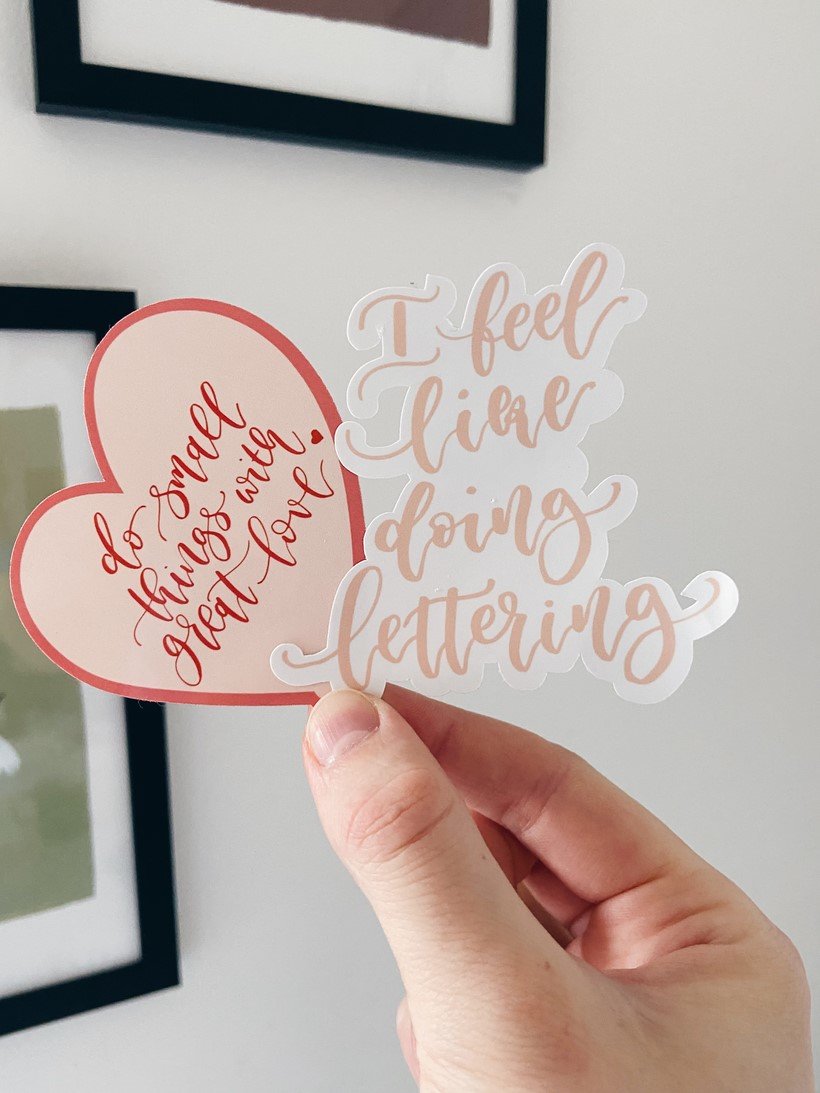
*Stickers
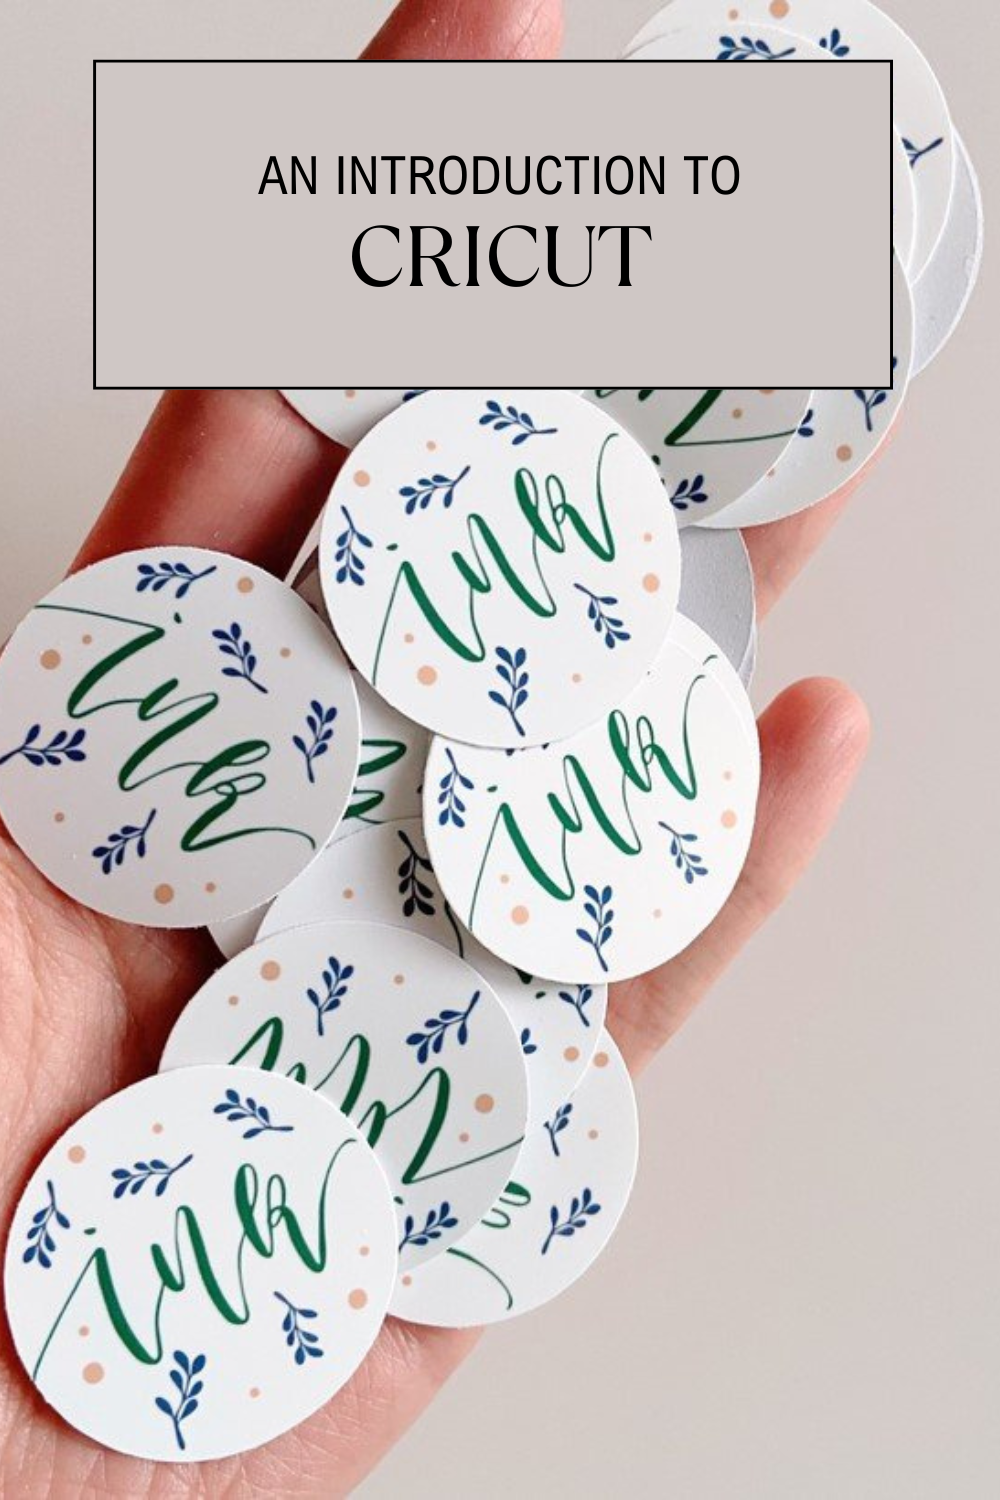
This is a fun one. I had to learn how to set it all up and design, but once that's out of the way the process is quite straightforward. Something I could do a little tutorial on in the future. You can make them waterproof by printing on Vinyl sticker paper or keep them simple and use a regular sticky paper.
I find it quite useful for my business as I can print my own ink stickers, branding to stick on the box with my orders, FRAGILE stickers etc.
*Parties / Events
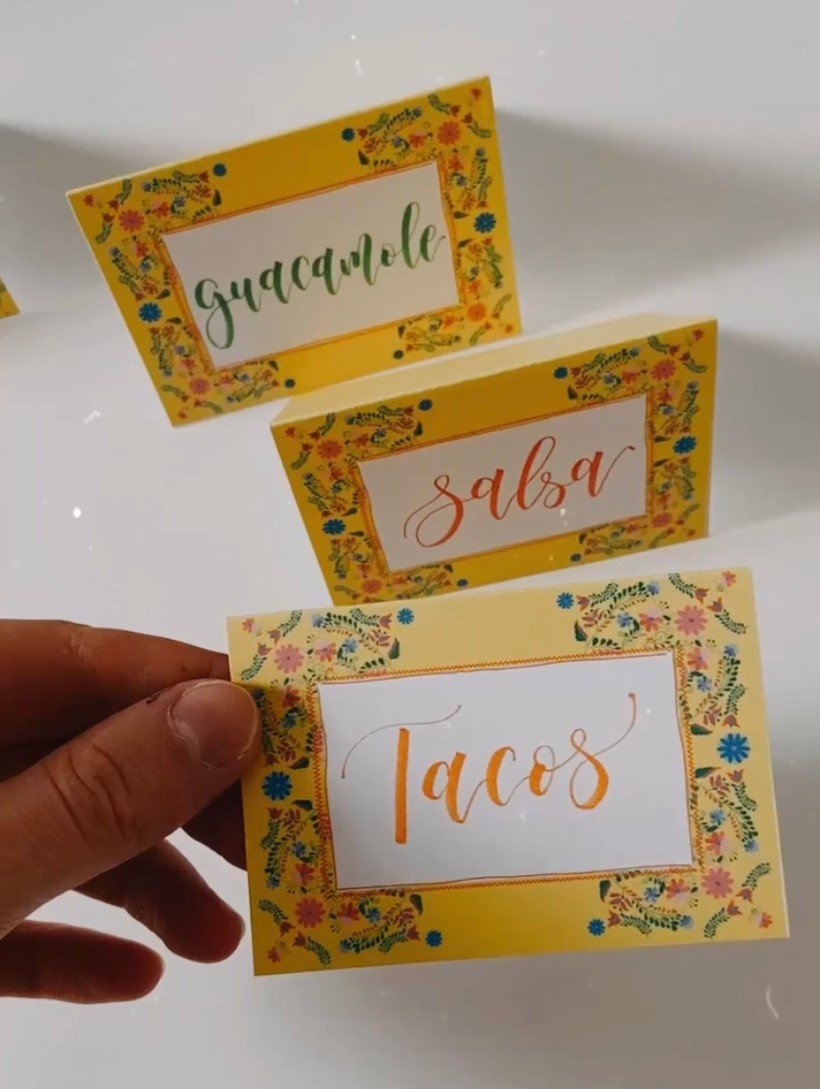
So this is where the pre-made templates come in handy. I was hosting a Mexican party and cut out these Mexican themed place cards. There were also banners etc., which I didn't take photos of, but it's easy to find Birthday party ideas, Wedding props etc.
Overall, it's a super useful machine to have for somebody who loves crafts and it can come in pretty handy for hand letterers in particular. Especially if you have an Etsy shop or are thinking of selling products.
Something to bear in mind:
I'll be honest, I've had many frustrating moments while learning how to use it properly and how to work with Vinyl etc. It does take a bit of learning and experimenting, but I didn't really do any courses or have any help, so perhaps it was a longer process for me personally.
Once you know what you're doing, the ideas just flow in and you get a bit addicted to the process.
So let me know if this is an interesting topic for you, and if so, I'll be happy to share some tutorials on how to upload your lettering into Design Space, how to set up projects, how to work with Vinyl etc.
That's it from me for now, let me know if you have any questions.


